Setup permanent synchronizations
To set up automatic synchronizations, you will find the “Syncs” tab in the leftmost sidebar of the Desktop Client.
Now you will see a blank section, which we will fill in the following steps.
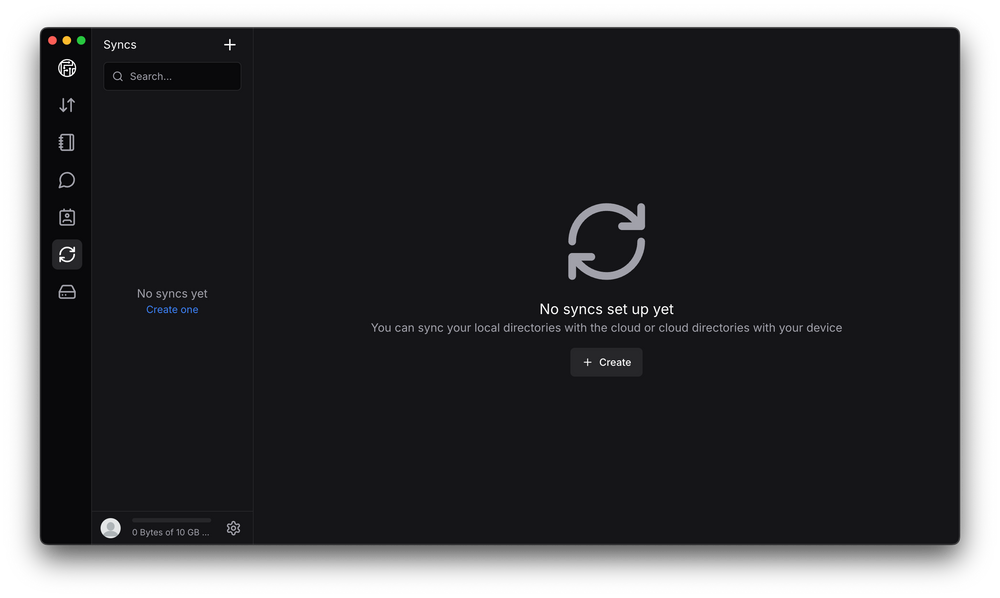
- First click on the "Create" button.
A new window will open where you have to set some basic preferences.
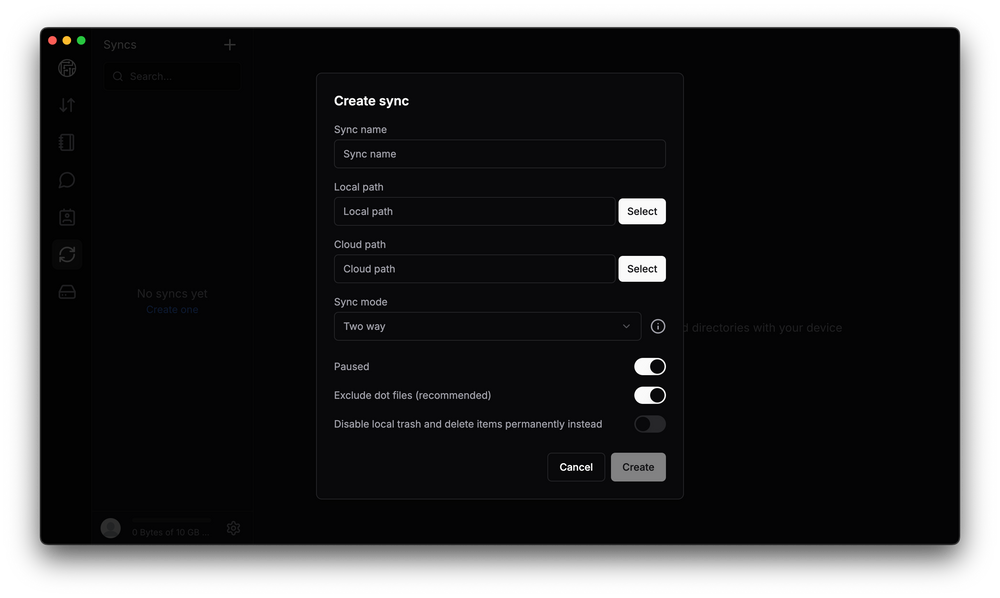
- Sync name:
Here you can assign an internal name for the sync - Local path:
Here you must select the local directory that you want to connect to the cloud. - Cloud path:
Here you must select the cloud directory that you want to connect to the local directory. - Sync mode:
Here you can select the preferred sync mode. Definitions of the sync modes follow below. - Paused:
Here you can pause the sync completely if you do not need it for the time being or for any other reason.
If you want to start the sync directly after setting it up, disable this option. - Exclude dot files:
Here you can ignore .dot files and folders as default. This refers to “invisible” files and folders.
If you do not need this, you can leave it enabled. - Disable local trash:
By default, a local trash folder is created in the linked directory when the sync is set up so that files and folders deleted in the cloud can be restored from the local trash.
If this disrupts your workflow, you can disable it for this sync.
Sync modes
-
Two Way
Mirror every action in both directions.
Renaming, deleting & moving is applied to both sides. -
Local to Cloud
Mirror every action done locally to the cloud but never act on cloud changes.
Renaming, deleting & moving is only transferred to the cloud, but not the other way around. -
Local Backup
Only upload data to the cloud, never delete anything or act on cloud changes.
Renaming & moving is transferred to the cloud, but not local deletions. -
Cloud To Local
Mirror every action done in the cloud locally but never act on local changes.
Renaming, deleting & moving is only transferred to the local side, but not the other way around. -
Cloud Backup
Only download data from the cloud, never delete anything or act on local changes.
Renaming & moving is transferred to the local side, but not cloud deletions.
Once you have set everything, the sync starts briefly.
You can then see the current processes via the Transfers tab at the top left.